Nasi Goreng Recipe | Indonesian Fried Rice Recipe
- Total time
- 45 min
- Serves
- 4
- Cuisine
- Indonesian
Ingredients
- 1 cup Jasmine Rice
- 2 large Eggs
- 4 tbsp Peanut Oil or Refined Oil
- 250 grams Boneless Chicken Thighs
- ½ cup Green Beans or Long Beans (chopped)
- 4 tbsp Kecap Manis
- 1 tbsp Soy Sauce
- 1 tsp Sugar
- Salt to taste
For Grinding
- 5 no Shallots (peeled)
- 6 Cloves Garlic (peeled)
- 6 no Birds Eye Chillies
- 1 tbsp Maggi Chicken Stock Cube (or see notes)
For Serving
- 2 no Green Onions (chopped finely)
- 2 tbsp Fried Shallots (optional)
- 1 no Lemon or Lime (cut in wedges)
- 1 no Cucumber (Sliced)
- 1 no Tomatoes (sliced)
Steps
- 1
Start by Cooking the rice. Wash jasmine rice in several changes of water. Take it in a sauce pot. For 1 cup of rice add 2 cups of water. Bring everything to a boil. Simmer the pot and cook for 10 mins on low heat till all water is absorbed. Set aside for 10 mins. Now use a fork to fluff up the rice. Remove the rice to a plate and store in fridge till needed.
- 2
For Making nasi goreng. Take shallots, garlic, chillies and Maggi stock cube in a blender and puree till coarsely blended. Set aside.
- 3
Heat a wok on high heat. Add in oil and let it shimmer. Now crack an egg in the wok and cook till crispy. Remove it using a slotted spoon and set aside.
- 4
In the same wok, add in the ground paste and saute on low heat for 3 mins till aromatic. Add in chicken and stir fry for a min. Season with salt, 2 tbsp of kecap manis and saute for 4 to 5 mins till cooked. Add in chopped green beans and toss for 1 min.
- 5
Add in cooked rice, remaining kecap manis, soy sauce, salt, sugar and stir fry to make sure the sauce coats each grain of rice.
- 6
Now spread the rice evenly in the wok. Let it crisp up and caramelise on high heat for 2 mins. Stir well to combine. Thats it nasi goreng is done.
- 7
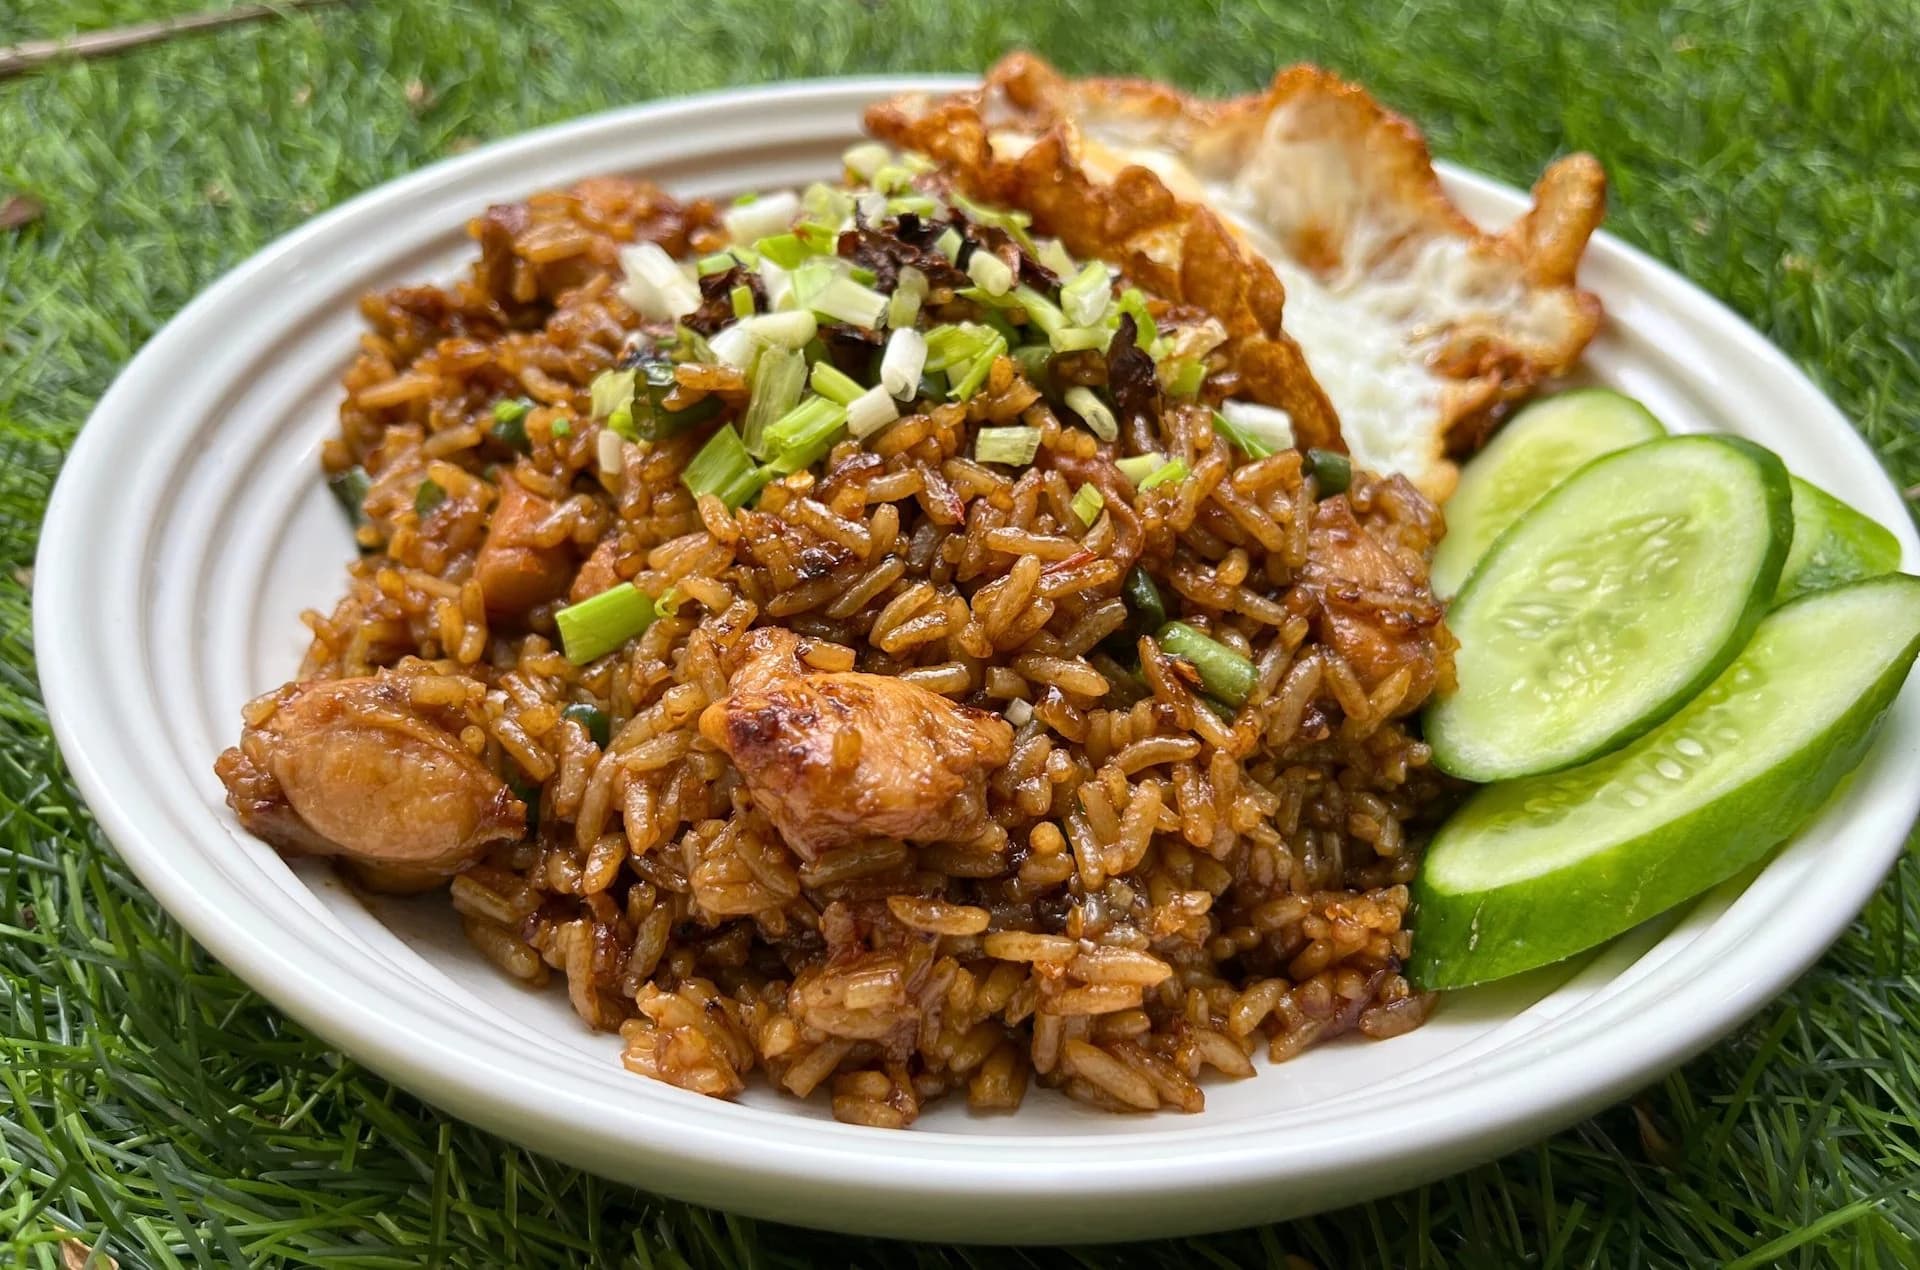
Now to serve nasi goreng. Spoon fried rice on a serving plate, top with fried shallots, spring onions, cucumbers, tomatoes, lemon wedges and top the whole thing with fried egg. Serve hot.
Source: yummytummyaarthi.com·Own this recipe or photo? Request removal