Air Fryer Chicken Katsu
- Total time
- 22 min
- Serves
- 2
- Cuisine
- Japanese
Ingredients
- 1 boneless skinless chicken breast (about 300 grams)
- salt
- pepper
- 1 cup panko
- 1 egg
- 1/4 cup cake flour
For Serving
- tonkatsu sauce
- shredded cabbage
- tomatoes
- cucumbers
- rice
Steps
- 1
Place the chicken breast on a cutting board. Pat it dry with paper towels to prevent slipping. Lay your non-dominant hand flat on top of the chicken breast to hold it steady. Using a sharp knife, start cutting horizontally through the thickest part of the breast. Begin cutting from one side, keeping the knife parallel to the cutting board. Carefully continue slicing through the breast, but don’t cut all the way through. Stop about 1/2 inch from the opposite side so that the two halves remain attached, allowing you to open the breast like a book. Open the chicken breast, laying it flat. If the breast is still uneven, you can cover it with plastic wrap and gently pound it with a meat mallet or rolling pin to even out the thickness. Season the chicken with salt and pepper.
- 2
prepare 2 shallow dishes with flour in the first, beaten egg in the second, and panko breadcrumbs in the third.
- 3
Dredge each chicken piece in the flour, shaking off any excess. Dip the floured chicken into the beaten egg, ensuring it’s fully coated. Press the chicken into the panko breadcrumbs, making sure it’s well-coated on all sides.
- 4
Preheat the air fryer to 400°F (200°C) for about 3 minutes. Lightly spray the air fryer basket with cooking spray or oil. Place the chicken katsu in the basket, making sure not to overcrowd it. Lightly spray the top of the chicken with more cooking spray or drizzle a bit of oil. Air fry for 12-15 minutes, flipping halfway through until the chicken is golden brown and cooked through. The internal temperature should reach 165°F (74°C).
- 5
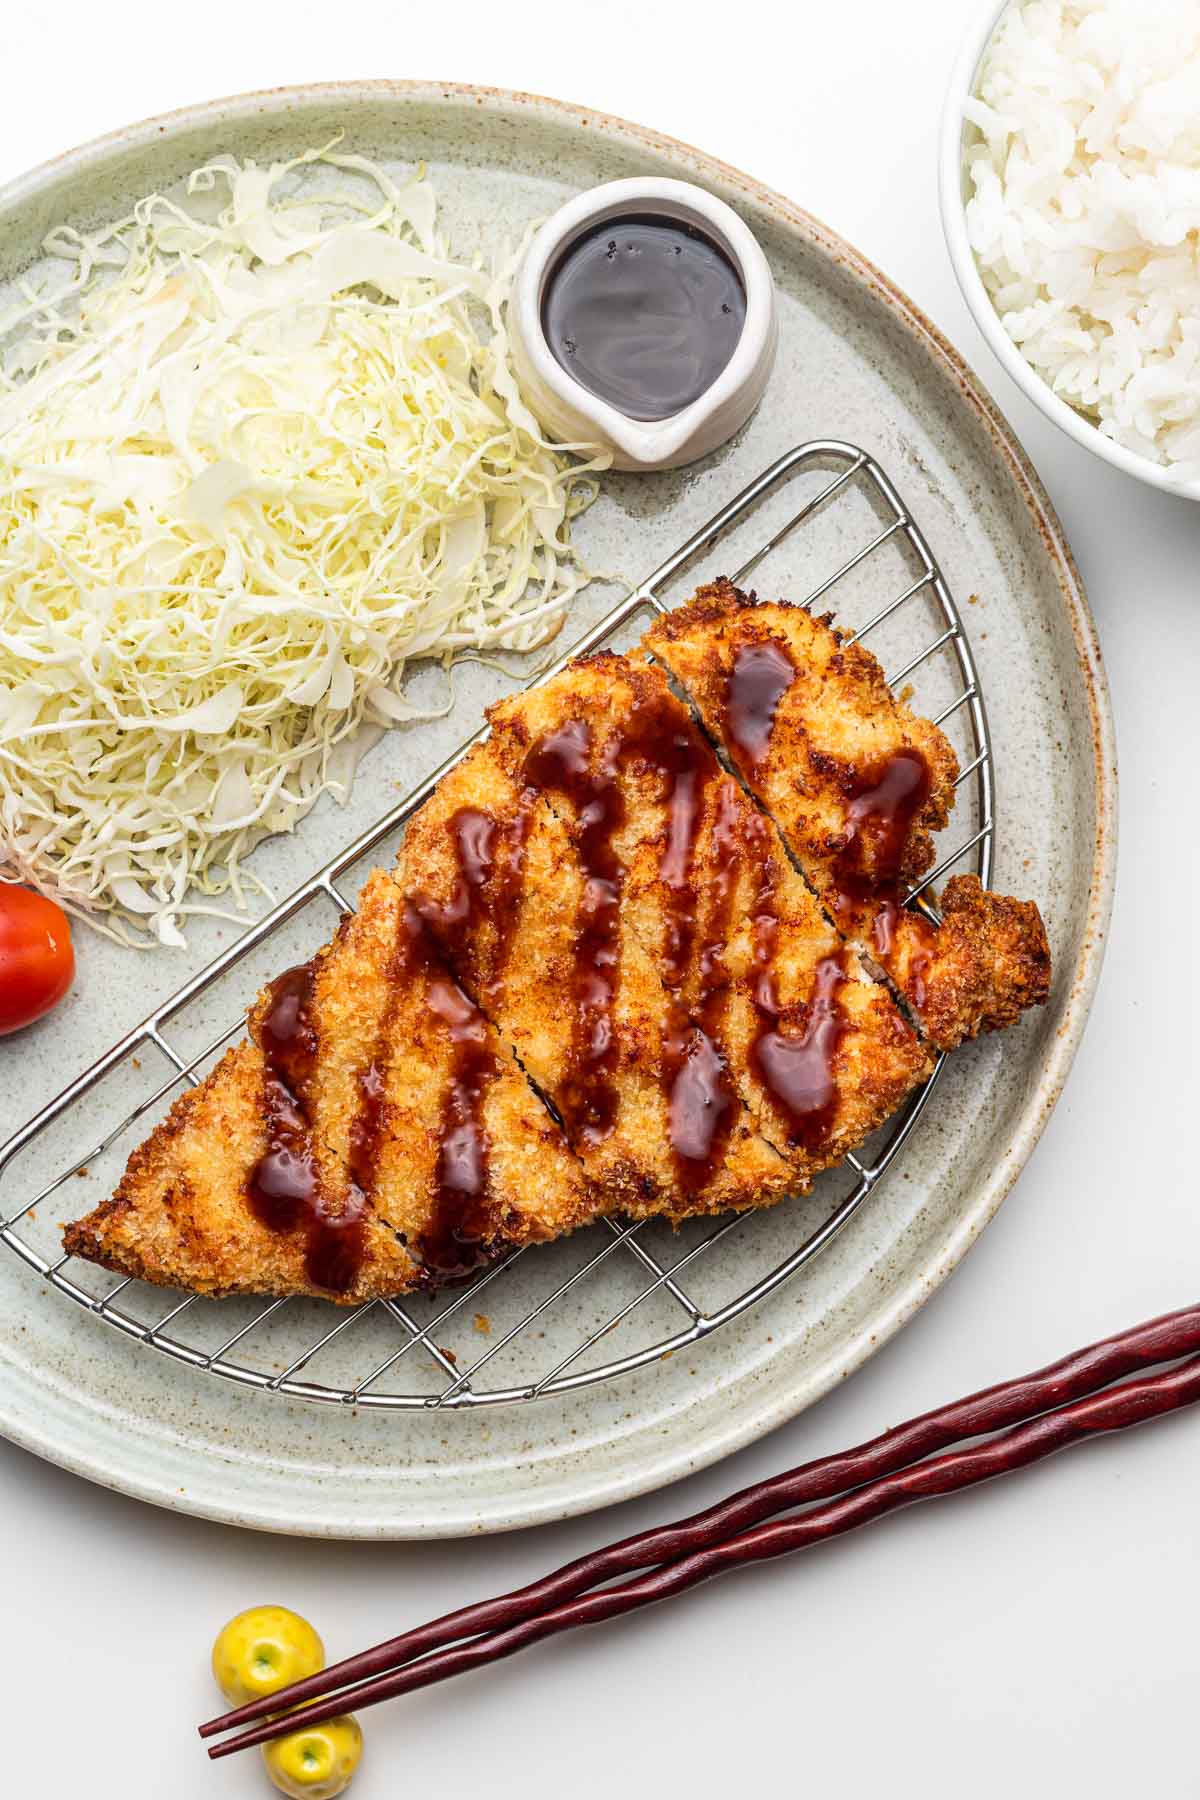
Slice the chicken katsu into 1 inch strips and drizzle tonkatsu sauce on top. Serve with a side of shredded cabbage, any other vegetables of your choice, rice and miso soup if desired. Enjoy!
Source: okonomikitchen.com·Own this recipe or photo? Request removal